Login into Colossus Cloud
The cloud service is available at https://colossus.cesar.unizar.es.
This document provides step-by-step instructions for accessing the OpenStack service hosted at colossus.cesar.unizar.es via the Graphical User Interface (GUI) and the OpenStack Client.
Accessing OpenStack via the GUI
Step 1: Navigate to the OpenStack Dashboard
Open a web brwoser and enter the url: https://colossus.cesar.unizar.es.
Step 2: Login into the cloud dashboard
If you have an available account in Agustina supercomputer,, cloud account or an email address from the bifi.es domain, you would enter this information in the respective fields.
In the first screen select Bifi Auth from the dropdown element:
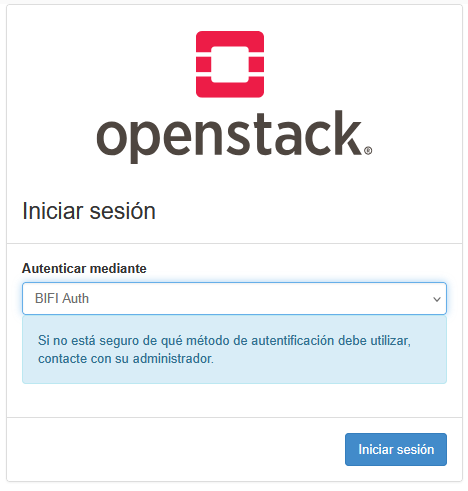
Then click on Iniciar sesión. Then you can enter your Agustina username and password or choose Google authentication on the bottom part to login with your bifi email (domain bifi.es):

If you have problems, please send an email to agustina@bifi.es.
Step 3: Explore the clod dashboard
After successfully logging in, the dashboard provides access to:
- Overview Page: Monitor your current resource consumption and usage metrics
- Resource Management Sections:
- Instances - Manage your virtual machines
- Volumes - Control storage devices
- Networks - Configure networking settings
- Images - Handle system images and templates
Accessing OpenStack via the OpenStack Client
Step 1: Install the OpenStack Client
Ensure that you have the OpenStack client installed on your local system. You can install it using pip:
pip install python-openstackclient --upgrade
pip install python-heatclient
For detailed installation instructions, refer to the OpenStack CLI Installation Guide.
Step 2: Obtain OpenStack RC File
Log in to the OpenStack GUI as described in the previous section. Navigate to your user profile settings (usually found at the top-right corner) and download the OpenStack RC File for your project.
Step 3: Source the RC File
On your local machine, source the downloaded RC file to load your OpenStack credentials into the environment:
source <your-openstack-rc-file>.sh
Step 4: Use the OpenStack Client
You can now execute OpenStack commands. For example:
- List available instances:
openstack server list
- Create a new instance:
openstack server create --image <image-name> \
                        --flavor <flavor-name> \
                        --network <network-name> \
                        <instance-name>
- List available projects:
openstack project list
Support
If you encounter any issues, please contact the support team at agustina@bifi.es or refer to the OpenStack Documentation. For further support do not hesitate to contact us.